Let's make this unique 3D pinwheel quilt block. I love this block because it stands out from the background fabric and looks complicated. In reality, it's very easy to make. Let's get sewing!
Gather the following supplies:
- four 3 1/2" squares of red fabric
- four 3 1/2" squares of white fabric
- walking foot/sewing machine
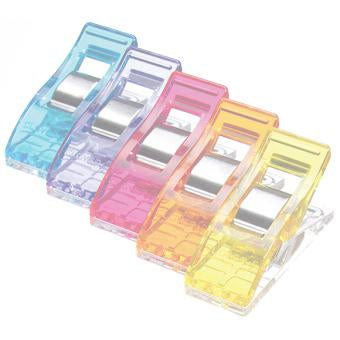
- pins or glue
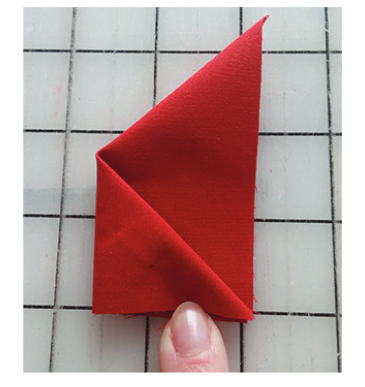
STEP 1: Fold each red square of fabric in half point to point so that you have four triangles.
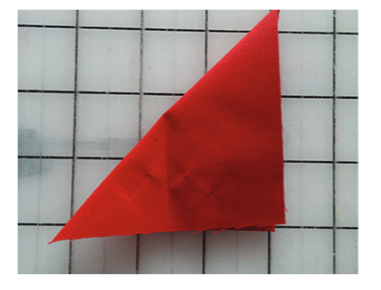
STEP 2: Fold the left point of the triangle over to the middle point so that it looks like the below photo. Pin or glue the point down.
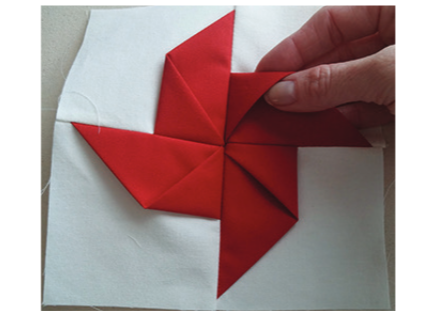
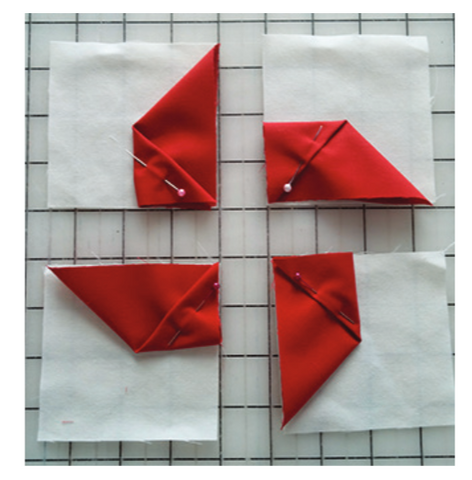
STEP 3: Pin or bast one red triangle to each of the white 3 1/2" fabric squares, and lay them out in a pinwheel shape.
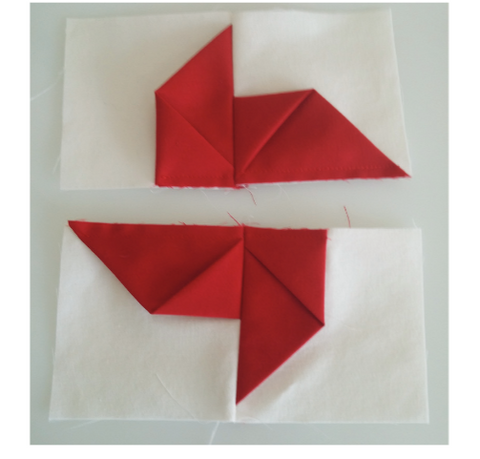
STEP 4: Sew each of the squares together to form a pinwheel. Press the seams open. This does get a bit bulky, use a walking foot makes this step easier.
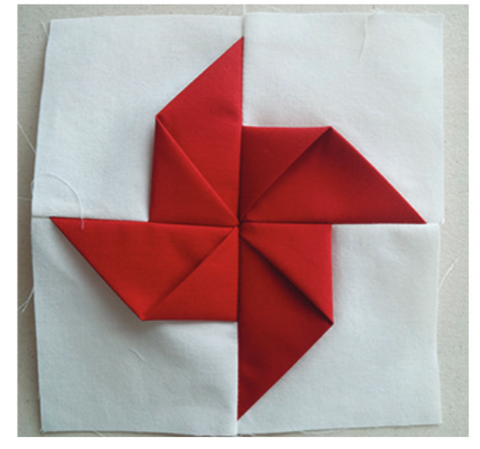
STEP 5: Square up your block to 6 1/2" and enjoy.